This is a really simple tutorial that I made for my sister's bridal shower many moons ago. I say it is a really simple tutorial; however, I have talked to a lot of people that did not know how to make those burlap banners that are very "in" this season for weddings, baby showers, and bridal showers. I overall agree that they are far simpler to buy on the various outlets that the Internet has provided us than to make one, i.e., Etsy. However, I really wanted a certain color combination and style that I could not find. I also waited until the week before which did not allow for shipping, nor could I find anything cheaper than just making my own!
My shopping list for this craft includes:
- Thick hemp twine
- 1/2 yard of burlap (this is determine on the size of the letters and length of the word, I just guessed)
- Large letter stencils
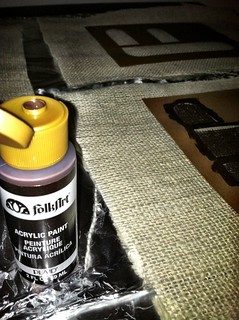
- Fabric paint
- Hot glue sticks/gun
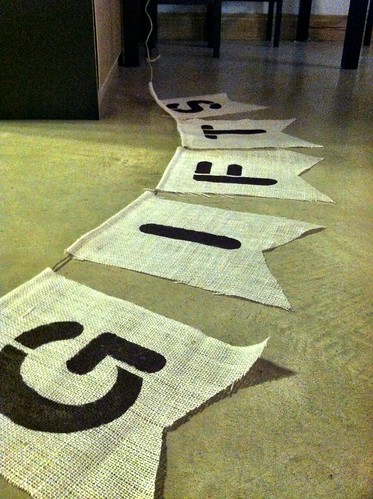
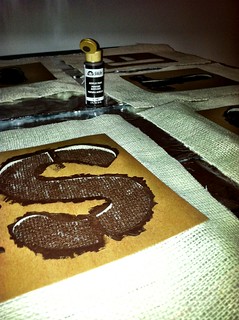
Cut out the desired design for a template, ensuring that this template is large enough to fit any letter you may need. This is important to measure all of the letters on the template, because a "G" is much larger than an "F" or "I". Copy the template design so that you have one piece of burlap for each individual letter. For mine, I spelled out “gifts”; therefore, I needed five burlap triangles (the template design I chose) to create the signage. Center each letter stencil on their designated burlap fabric piece (I use more of the bottom-center of the fabric to allow for extra fabric when I string/hang the sign). Lay both on some type of aluminum foil or newspaper to help with the mess and paint inside the stencil; be really careful to ensure that excess paint does not remain on the edges of the stencil. This will cause the edges of the letters not to be crisp and the sign will turn out less professional-looking.
Leave stencil on the burlap until the entire letter has dried (I allowed overnight for drying), and then peel off the stencil. Measure the burlap fabric pieces side-by-side to see how long of a twine string you will need to hang your sign. I allowed for an additional two feet on each side to hang and tie a bow. Lay each letter face down in backwards order of how the word is spelled and careful lay the twine string across the top. With a glue gun, thinly glue a straight line underneath the twine on each burlap fabric piece. Before drying, press firmly the over layer of burlap to enclose the twine inside the fabric. Once the glue has cooled and become less sticky, place a heavy object over the glue to ensure a tight seal.
At the end of the project, the burlap will be able to be hung from just about anything at an event center. We have used this banner multiple times since I made it on tables, in rooms’ corners, as a backdrop, etc. Such an easy project and so cheap to make as well!
Do you have any tricks or tips on making burlap banners? What is your favorite way to label areas such as the gift table at a party?